Blog #43 Cinematography Analysis: Deadpool and Wolverine (2024)
In this post, we’re going over the Marvel film Deadpool and Wolverine, two of the biggest comic-book stars in modern history.
The film had a challenge—merging two different styles together. The Deadpool films tend to be undersaturated, low-contrast movies; while the Wolverine films are dark, gritty movies.
It did this successfully, merging the styles together in a unique “Marvel“ way. It’s a pretty, modern looking film, with a lot of action and vast landscapes.
Here are some tech specs for the film, found on this link: https://www.imdb.com/title/tt6263850/technical/
Director of Photography — George Richmond
Aspect ratio — 2.39 : 1
Camera — Arri Alexa LF, Panavision Ultra Vista and VA Lenses, Arri Alexa Mini LF, Panavision Ultra Vista and VA Lenses
Cinematographic Process — 3D, ARRIRAW(4.5K, source format), Digital Intermediate(4K, master format), Panavision(anamorphic, source format), Spherical(source format)
I’m going to go over the top 5 cinematography techniques used in the film. Some are obvious, some not. Let’s go!
Out of focus shots. In the beginning, there are a lot of out of focus shots. Why? It helps build suspense. You’re going into a Marvel movie with two of the most successful characters on screen—build suspense. It’s also incorporated with slow-motion, for a fun Marvel introduction to the film. Not to mention lens flares (they’re in the woods, in broad daylight).
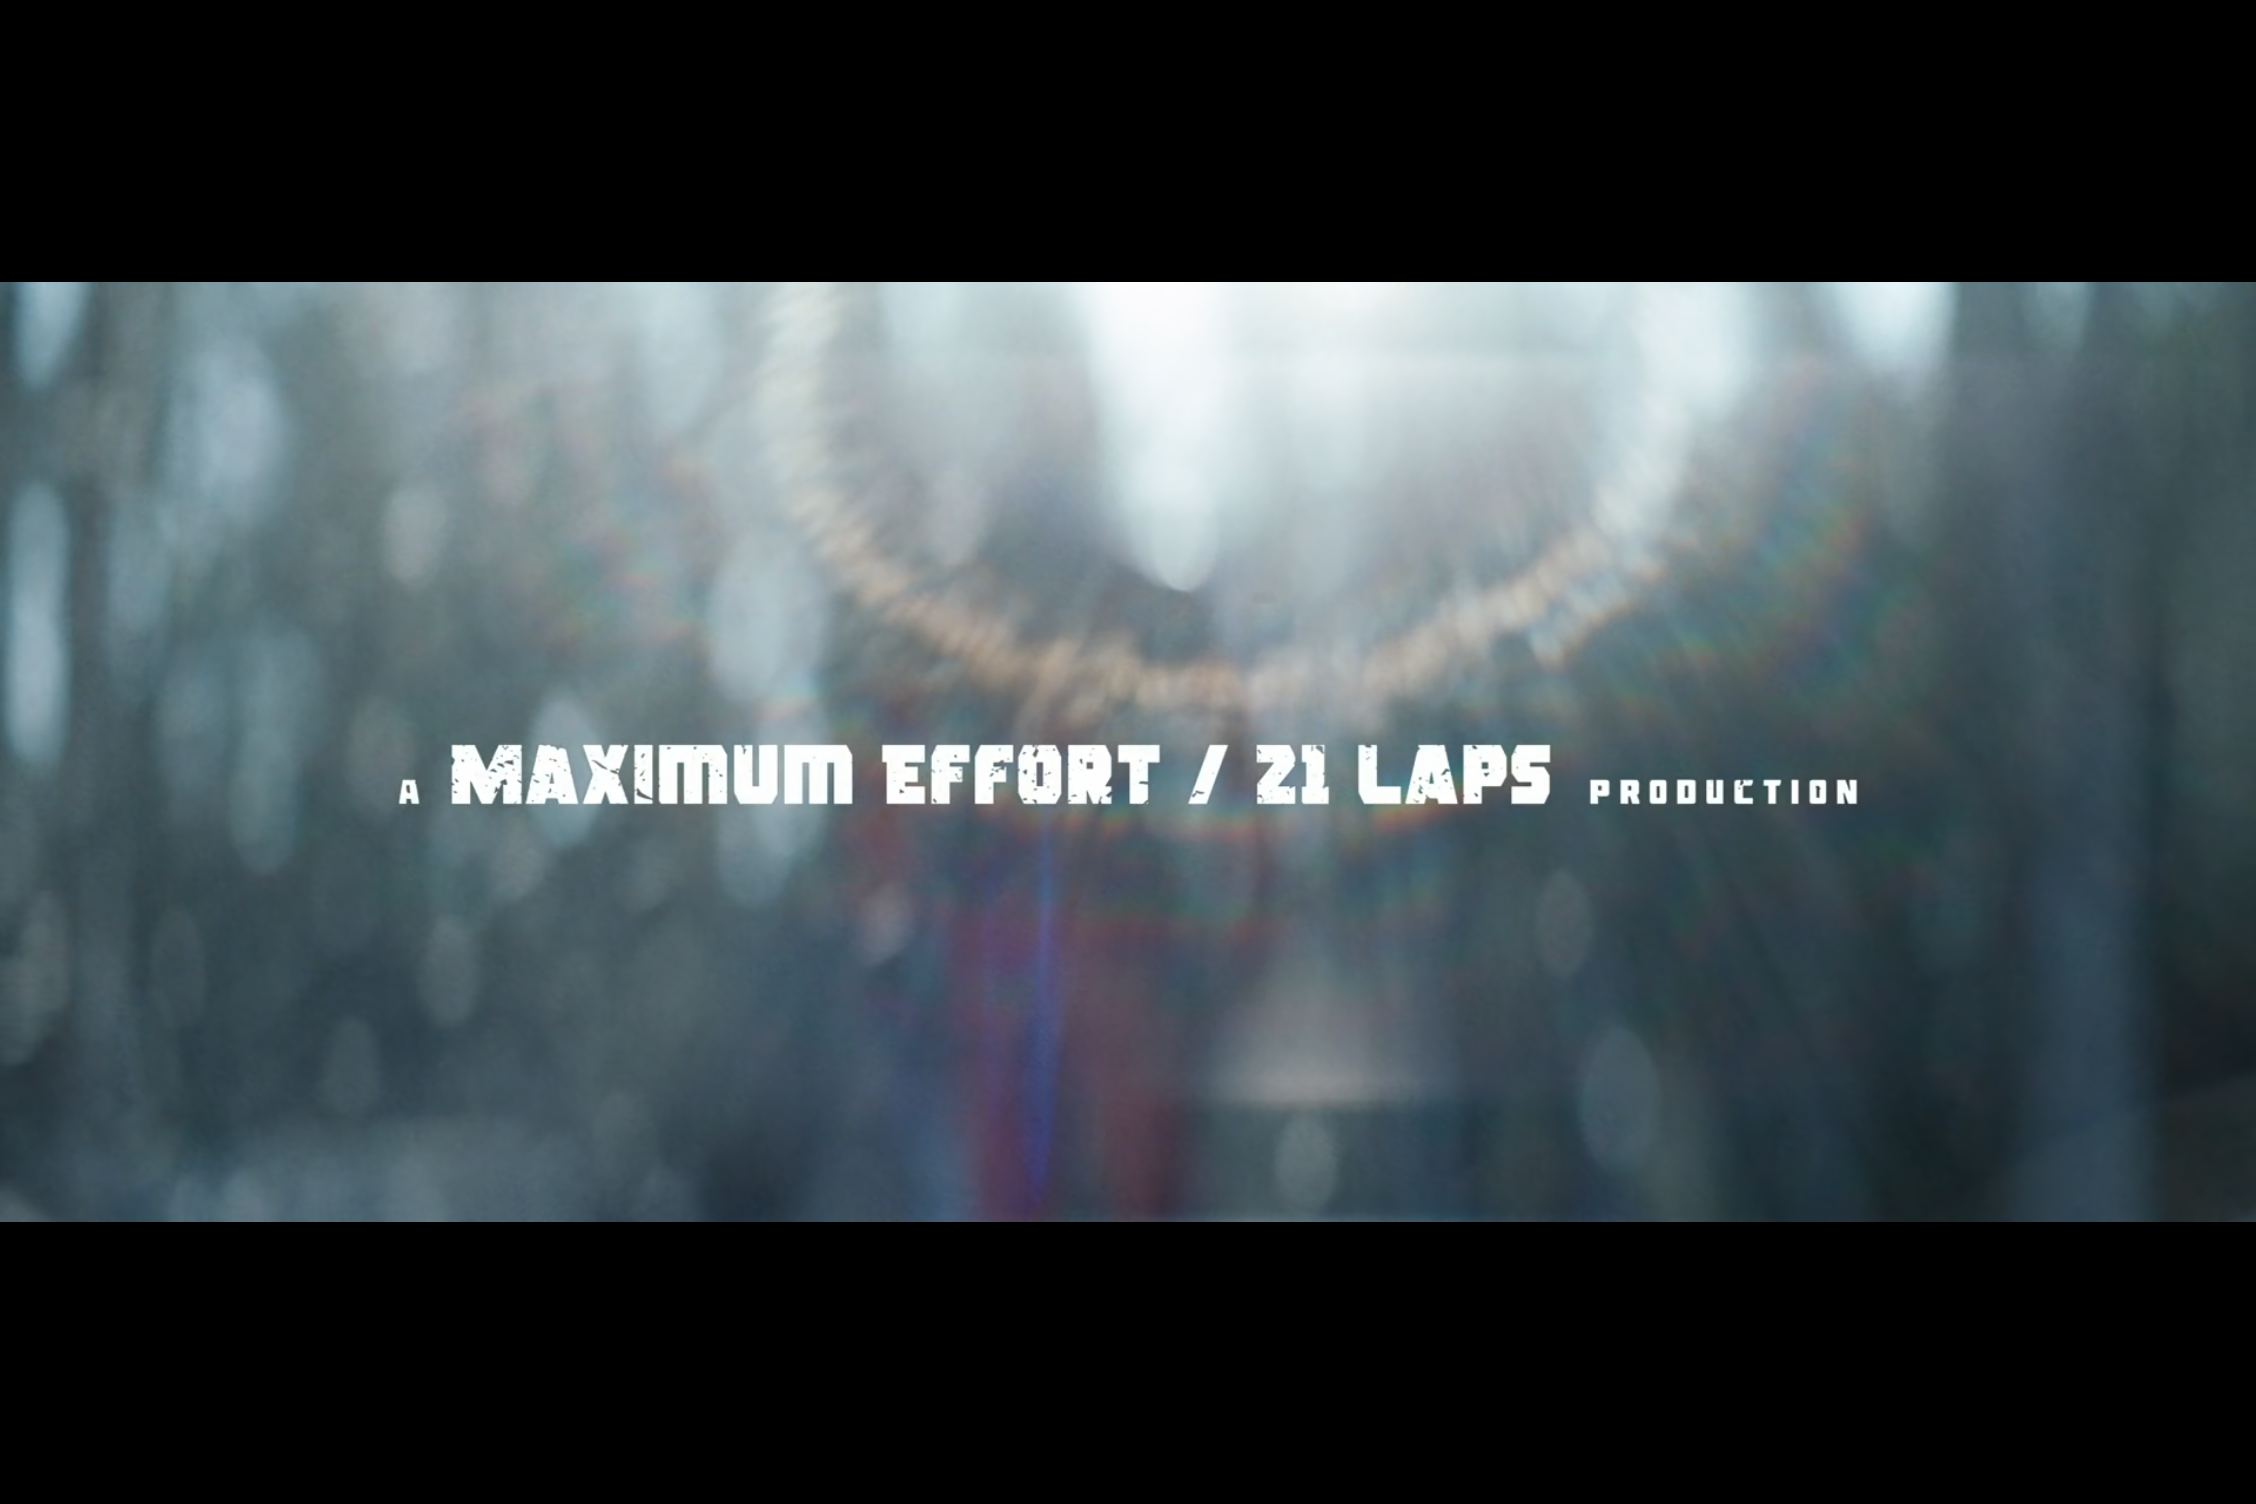
Out of focus lens flare
2. DaVinci Resolve-style “colour boost“—notice the frame below. The character Deadpool is highly saturated, but the woods behind are desaturated; helping Deadpool to pop out of the frame. You can do this with the Colour Boost wheel in the Colour tab in DaVinci Resolve, which helps the most saturated colours “pop”. Give it a try!
There are also other ways of doing this, like the Hue vs. Saturation tool.
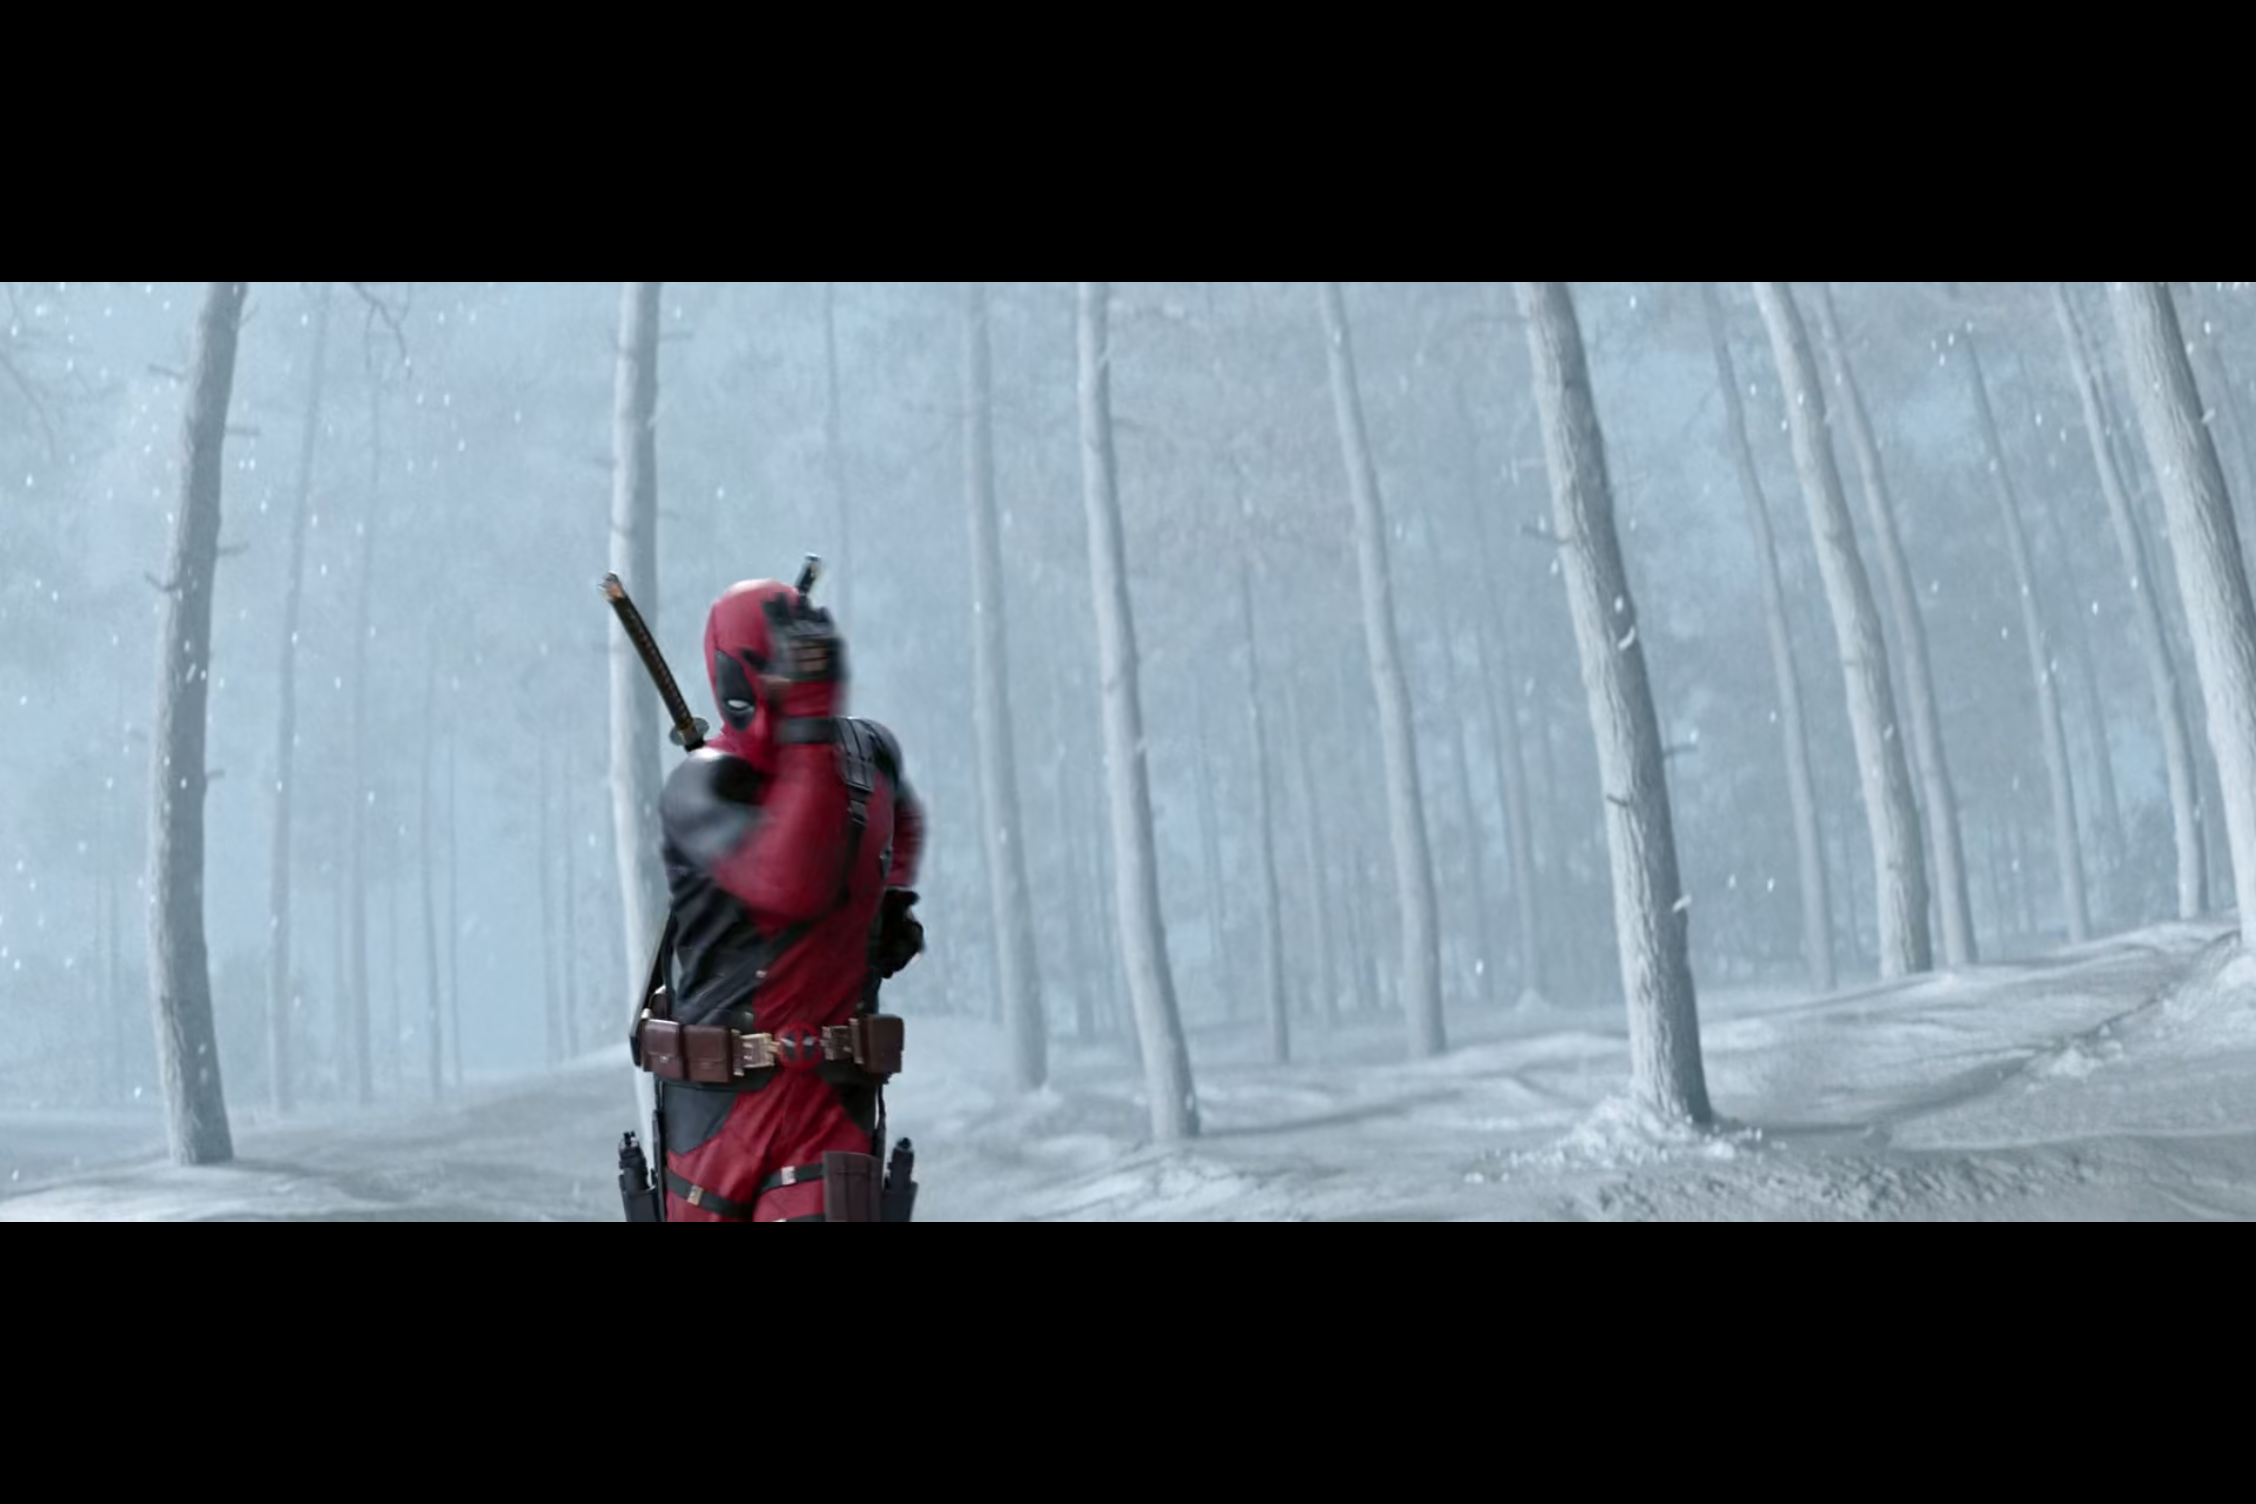
Observe the reds popping
3.Dusty cold wides—here’s another example of desaturated heaven. This is a two-shot of the main characters in an apocalyptic-style world. Notice how cool the colour temperature is; it really makes you feel something is about to go wrong. They also had to make sure to dirty up the characters costumes, in order to sell the effect. Obviously, it’s green screen—you can tell by Wolverine’s hair outline, but still a compelling scene.
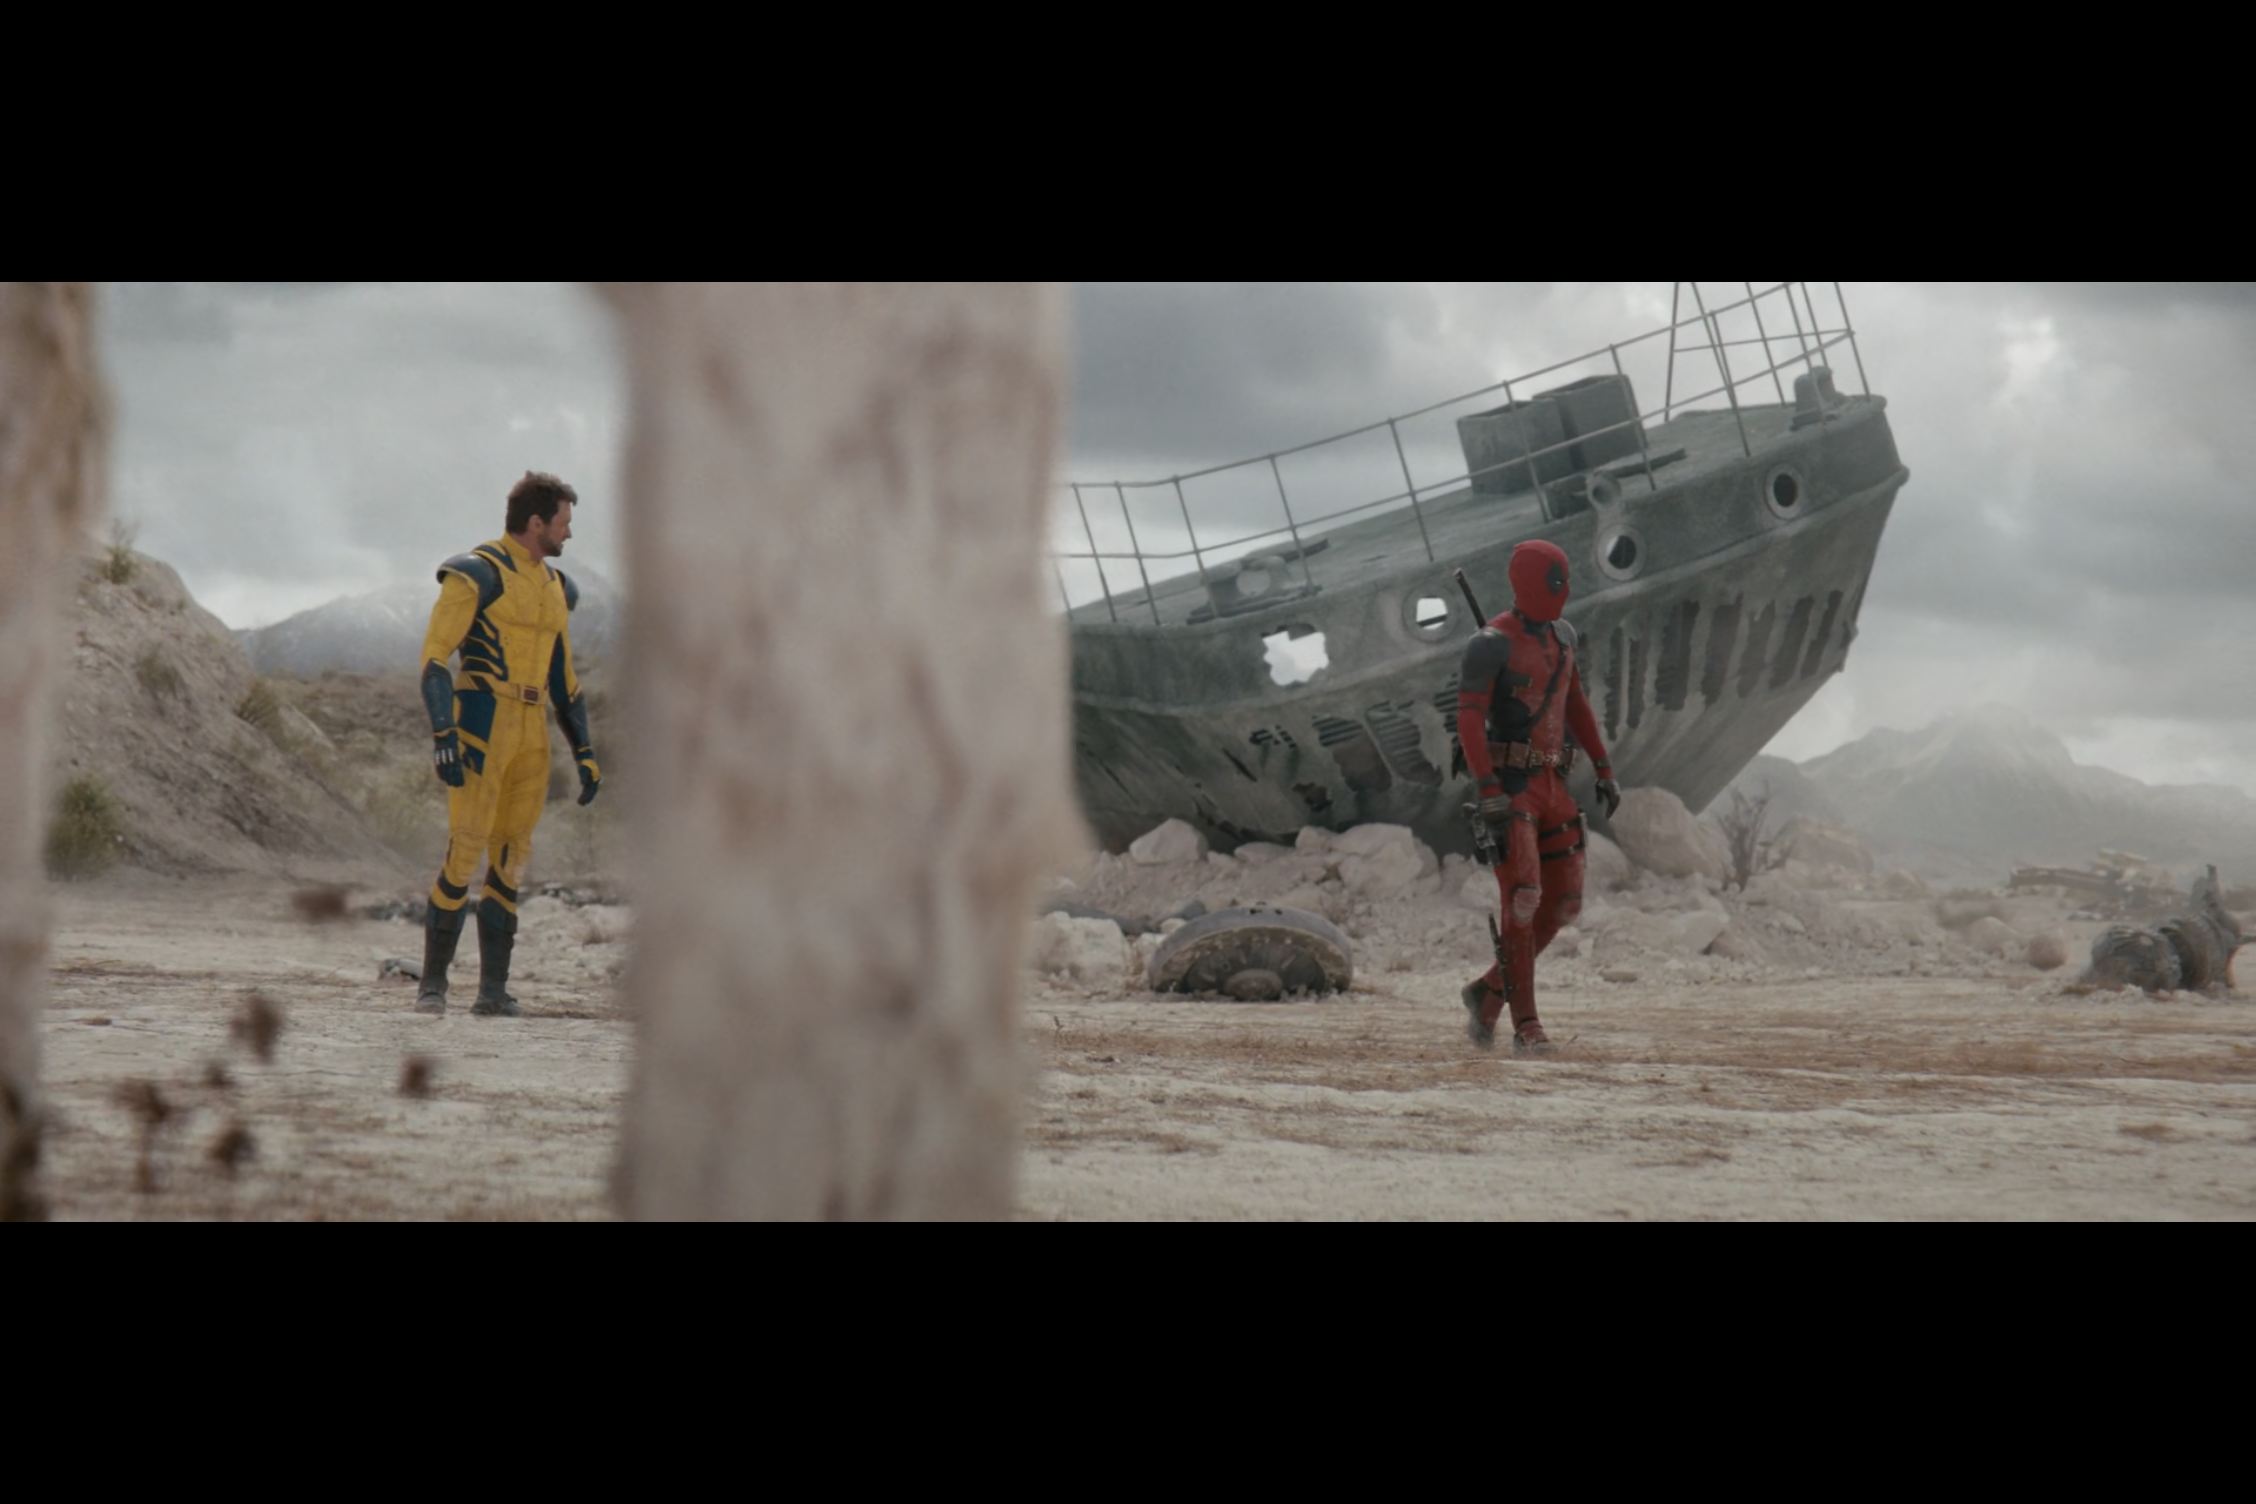
Dusty two-shot
4.Hard light—in a scene in an underground base, Deadpool and Wolverine meet Marvel heroes from the ‘90s. The scene is low-key, with hard light cutting in from above. The hard light is great at adding texture to the shots, creating visual interest. Hard light works well in a scene like this, where the characters have to be stealthy to avoid their base being seen. It’s filled with practicals too, like lamps, which add extra interest to the set.
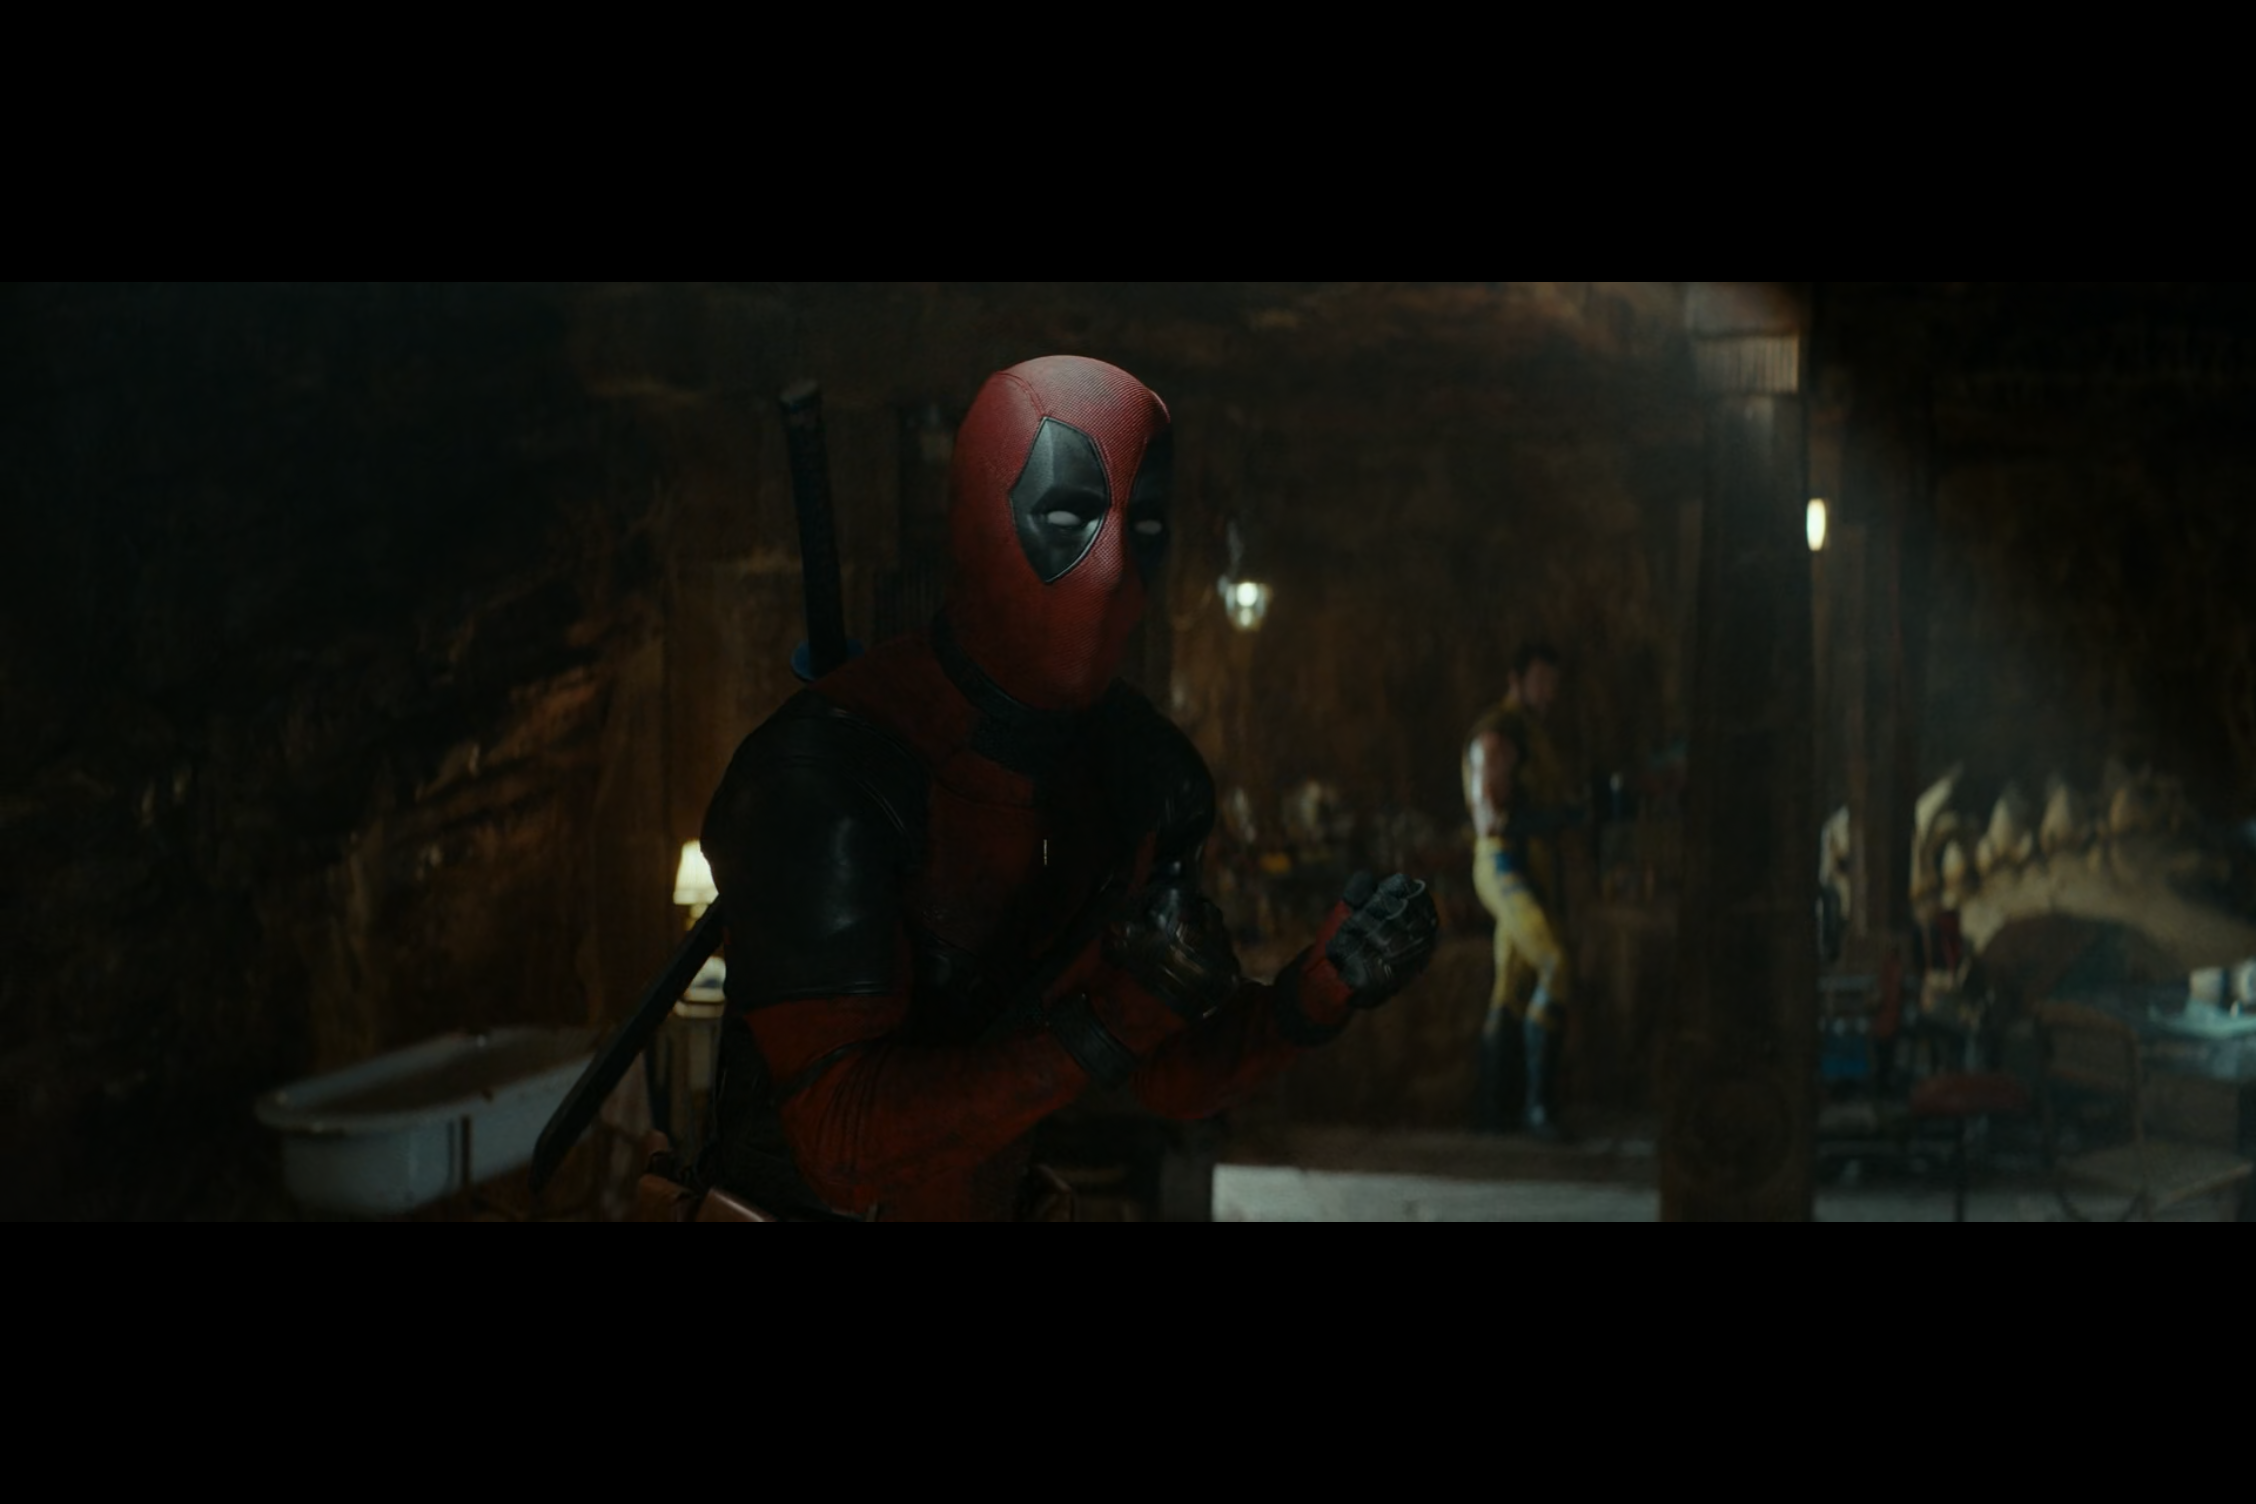
Hard shafts of light from above
5.Sparks—there are sparks and clouds of smoke throughout the film, motivated by the destruction. These add another natural source of practical light to motivate the character’s lighting. To do this, you have to plan ahead! You can’t light a sparks scene without storyboarding first; you need to know before you shoot. All these destruction elements help immerse the viewer—making the consequences of the action seem real.
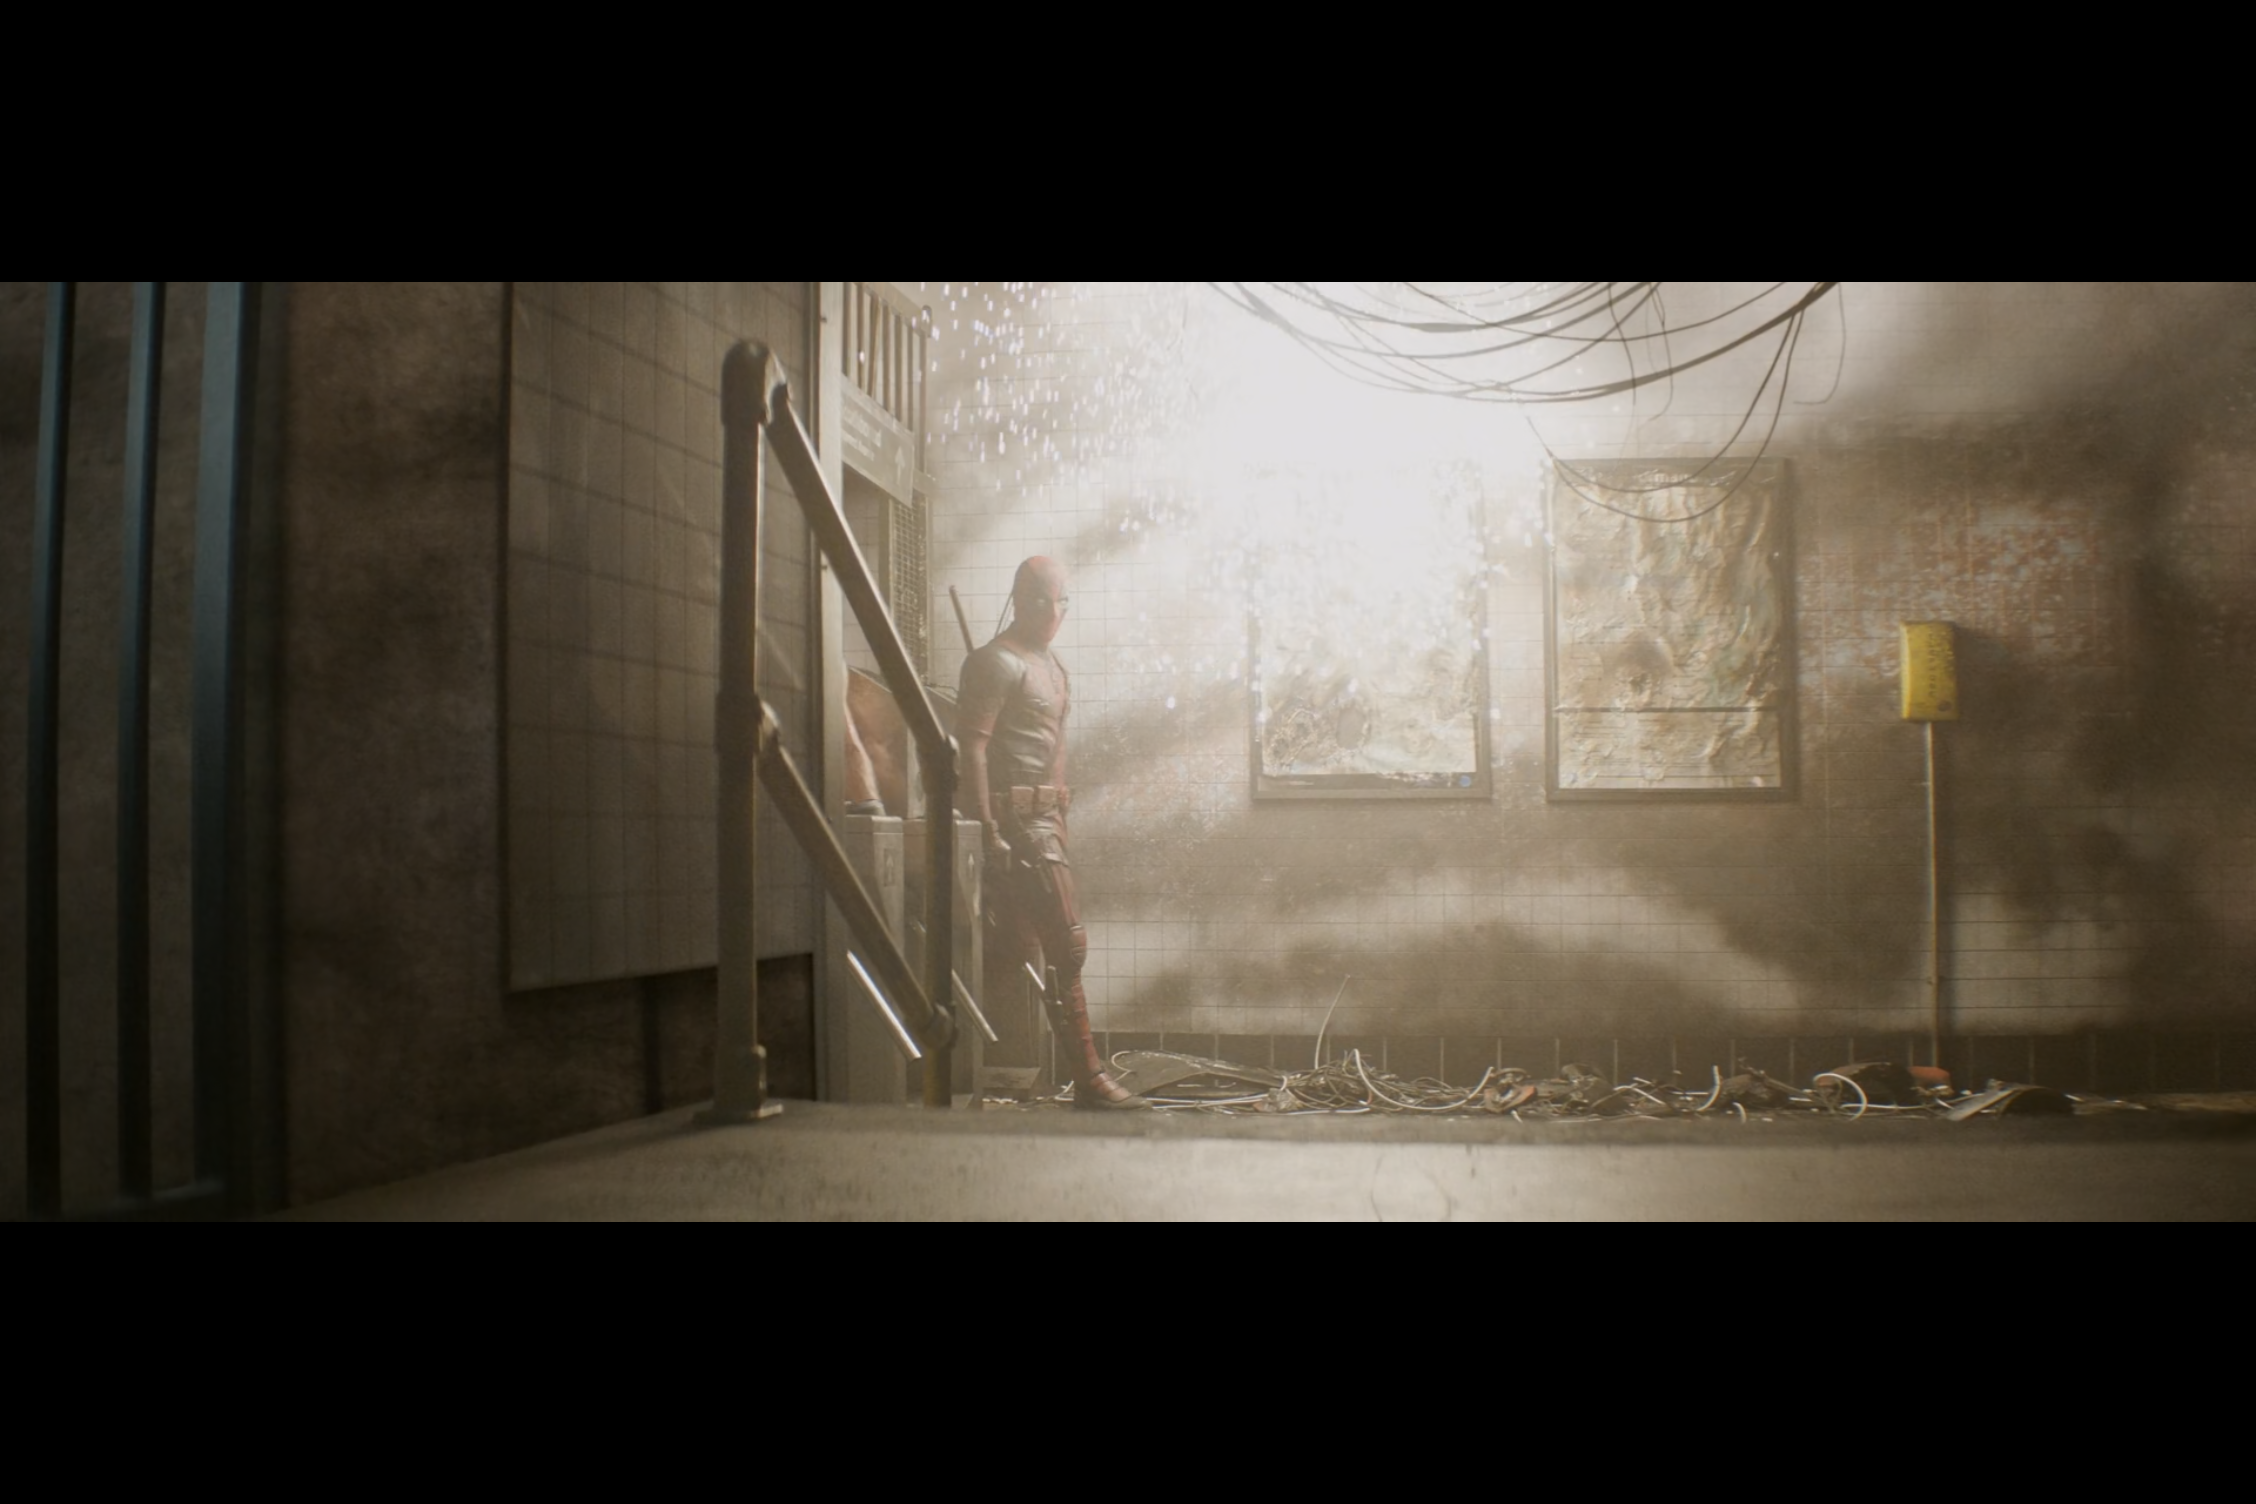
Sparks
Those are my thoughts. It’s a very busy film, image-wise. Every frame has a filled background. A lot of visual effects too. A lot.
Thanks for reading and if you’ve any comments, let me know down below.
Good luck out there.
-D.C.