Blog #42 5 Ways to Light Your Next Shot
Looking for inspiration? A fresh take on the simple?
You’ve come to the right place. In this post, we’ll be taking a look at lighting your next shot. I’m going to share 5 ways you can setup your lighting setup in order to help you improve your lighting, or just give you new ideas. These are inspired from films—giving you a cinematic quality to your next setup. Some will feel old, while others will feel innovative and fresh; I guarantee you’ll take something new from it.
Here.We.Go.
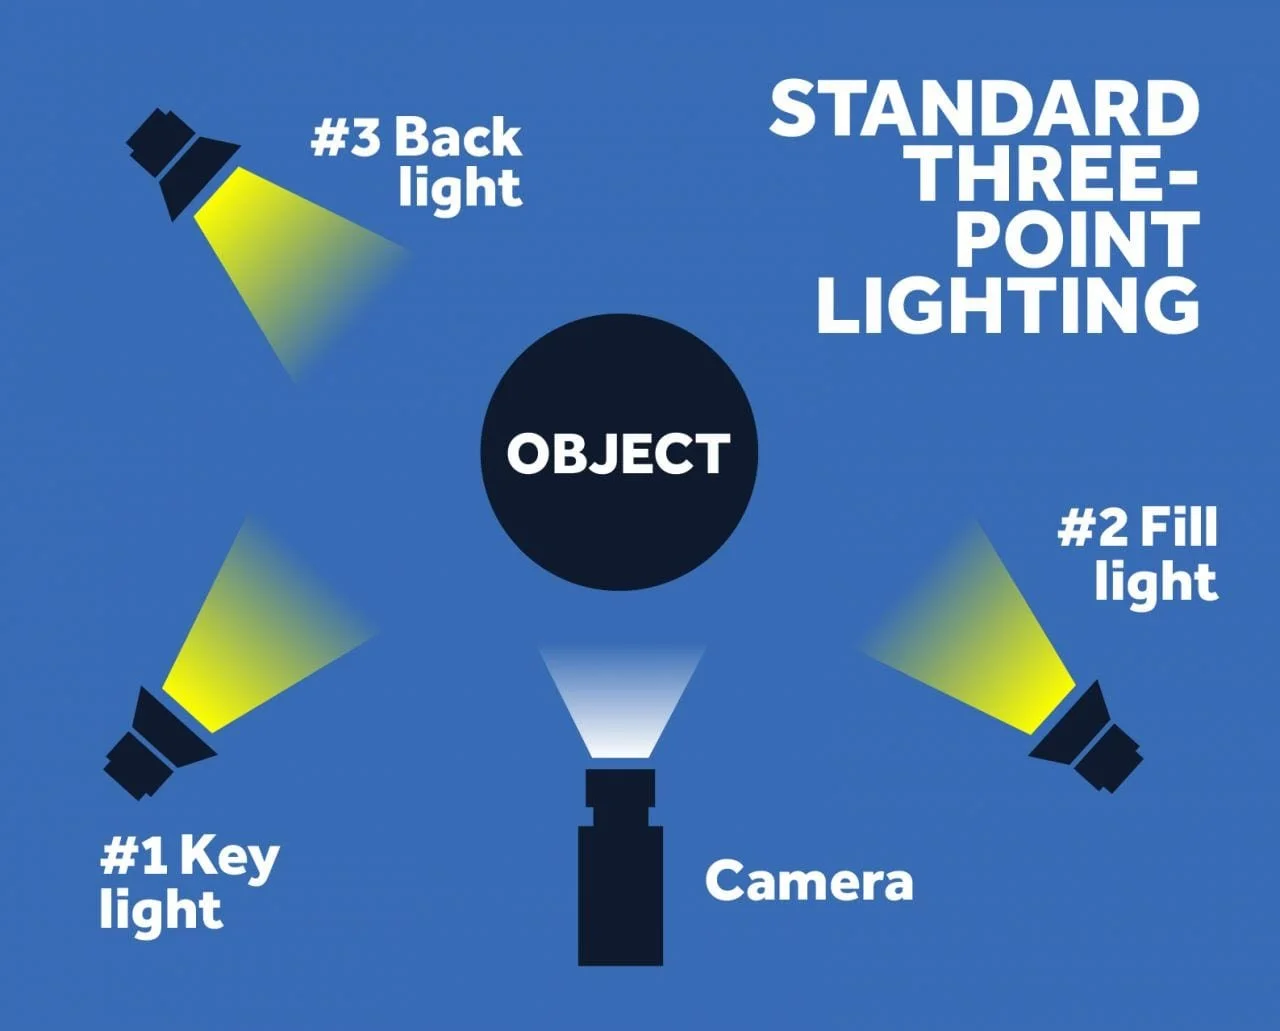
Three-Point Lighting—starting off with the classic setup: three-point lighting. I’m sure you are familiar with this, but I want to dive into the details of it, sharing why it works so well.
Firstly, the key light: this illuminates your subject—the most important part of your frame.
Secondly, the fill light: this fills in details on the other side of the subject’s face. Or, you could use negative fill and take away light.
Lastly, the back light: this separates the subject from the background.
Optional: a background light: this will separate the subject from the background further.
3 point lighting
2. Rembrandt lighting—if you are unfamiliar, Rembrandt lighting focuses on using only one light: a key light. The key light is positioned on the side of the subject, around 45 degrees. This creates a harsh shadow on the other side of the actors face. It’s based on the famous painter’s work, and creates a triangle under the actor’s far eye. Here it is:
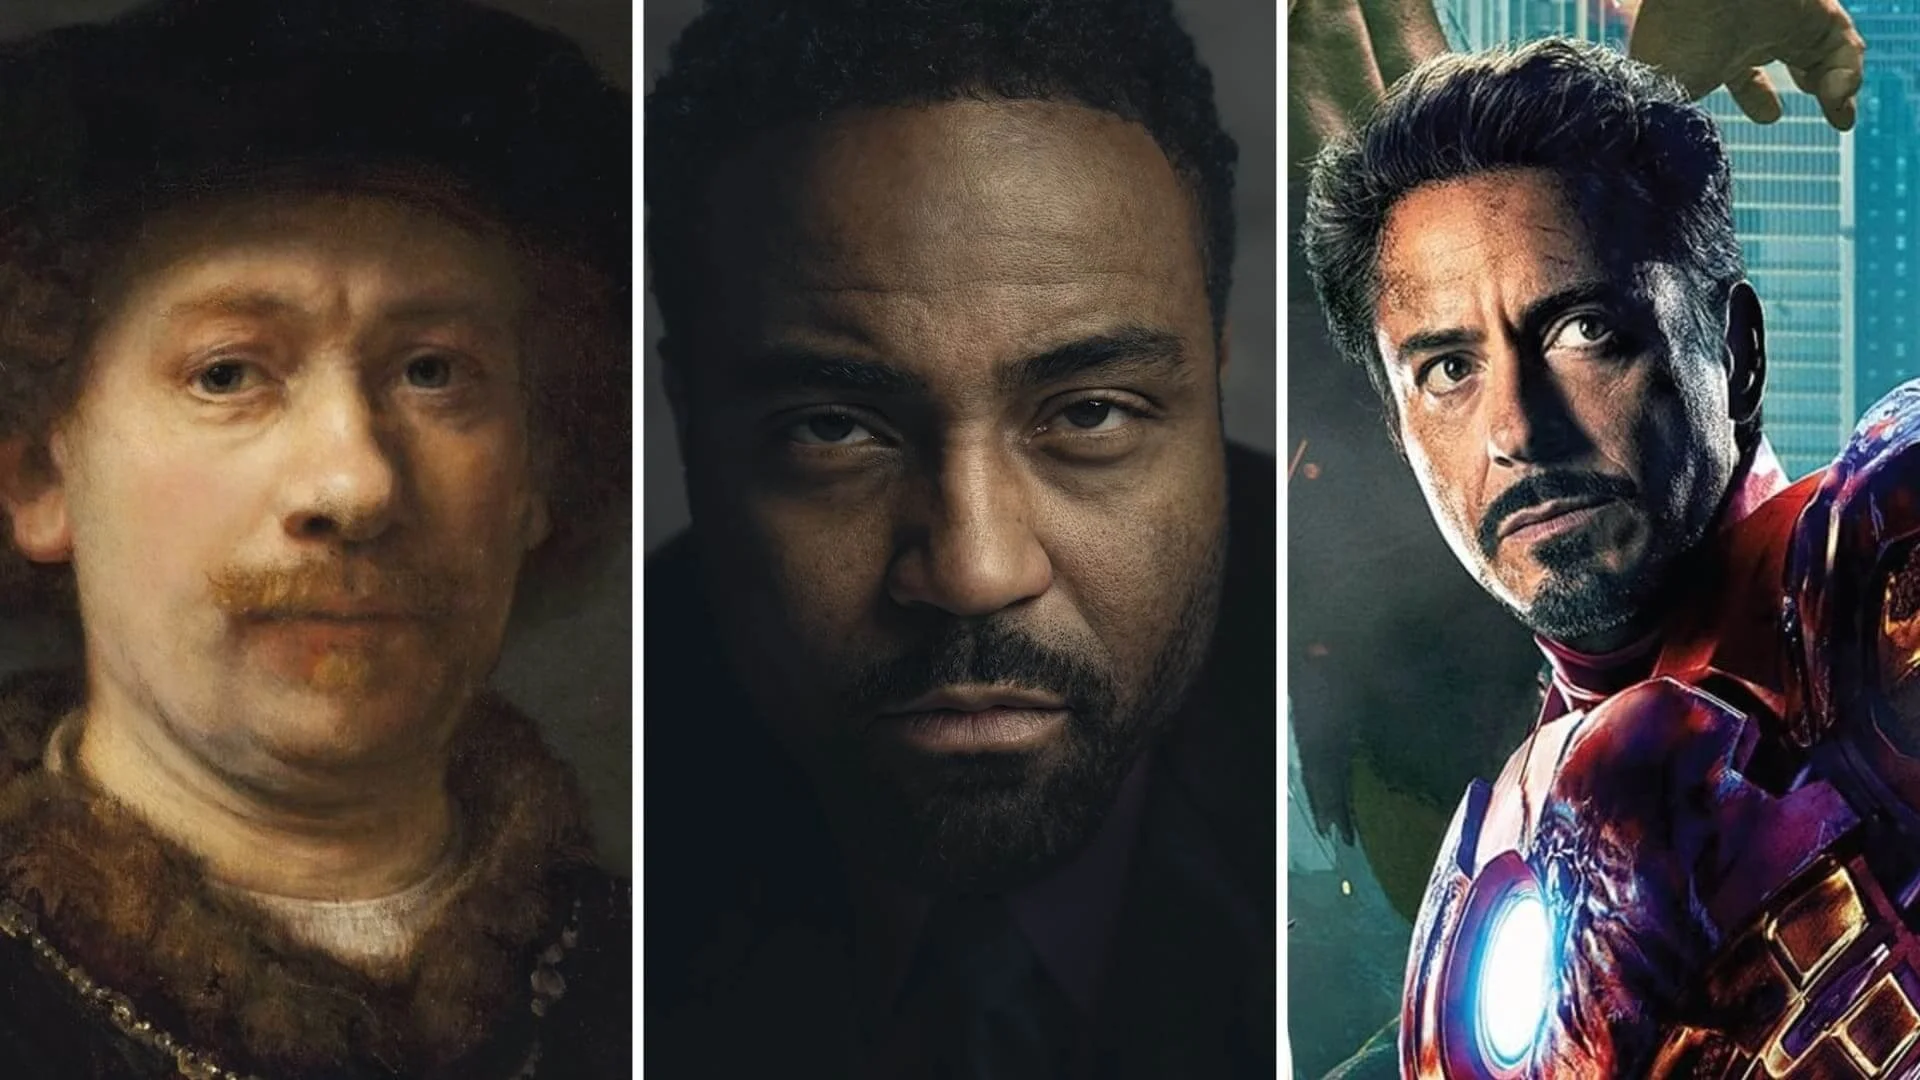
Rembrandt
3. Butterfly lighting—I don’t have any experience using this one, but it’s very popular among fashion photographers. The idea is to angle your key light down from a high angle onto your subject, creating a “butterfly“ under the nose. This will leave a big shadow on the lower half of the head, so many photographers will bounce the light back up with a reflector; think of this as a fill light pointing back up. Here’s the setup:
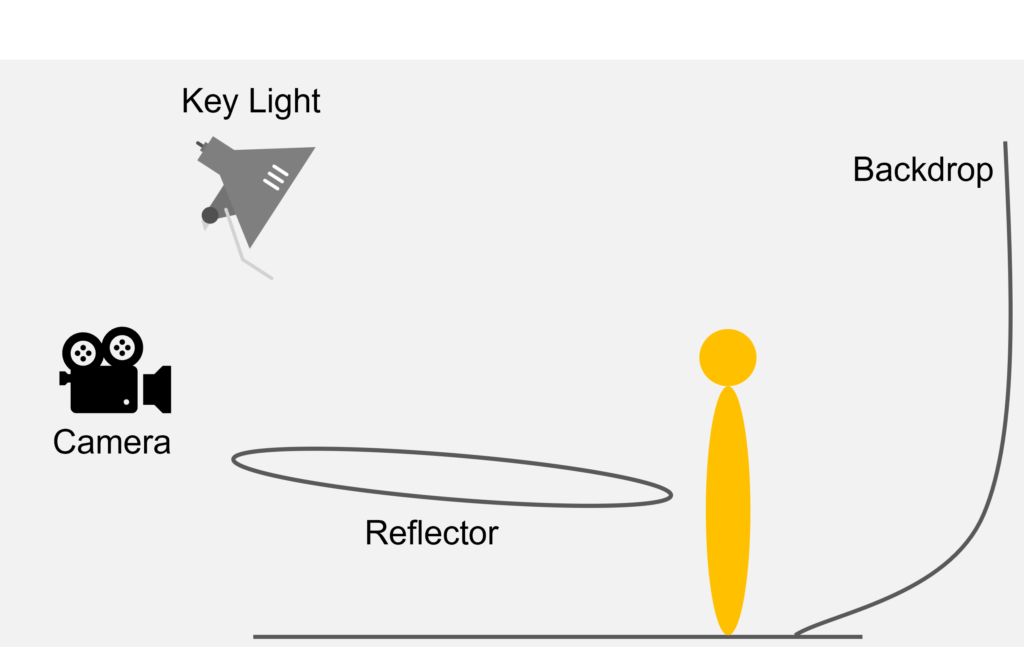
Butterfly lighting
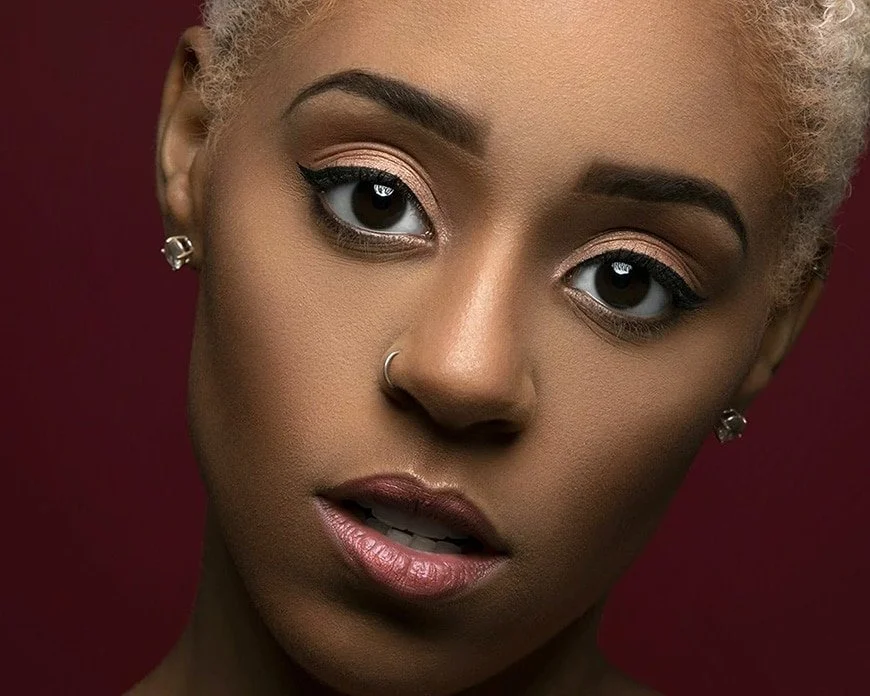
Butterfly lighting result
4. Bouncing the light off a surface—similar to the last one, we’re pointing the light down from above. This time, we’re not pointing it at the subject, but instead a surface—like a bar counter or table cloth. The light will bounce back up from the counter and give a bar/mafia style look to the shot. Remember—white cloths work well because they reflect the light back up better than darker cloths!
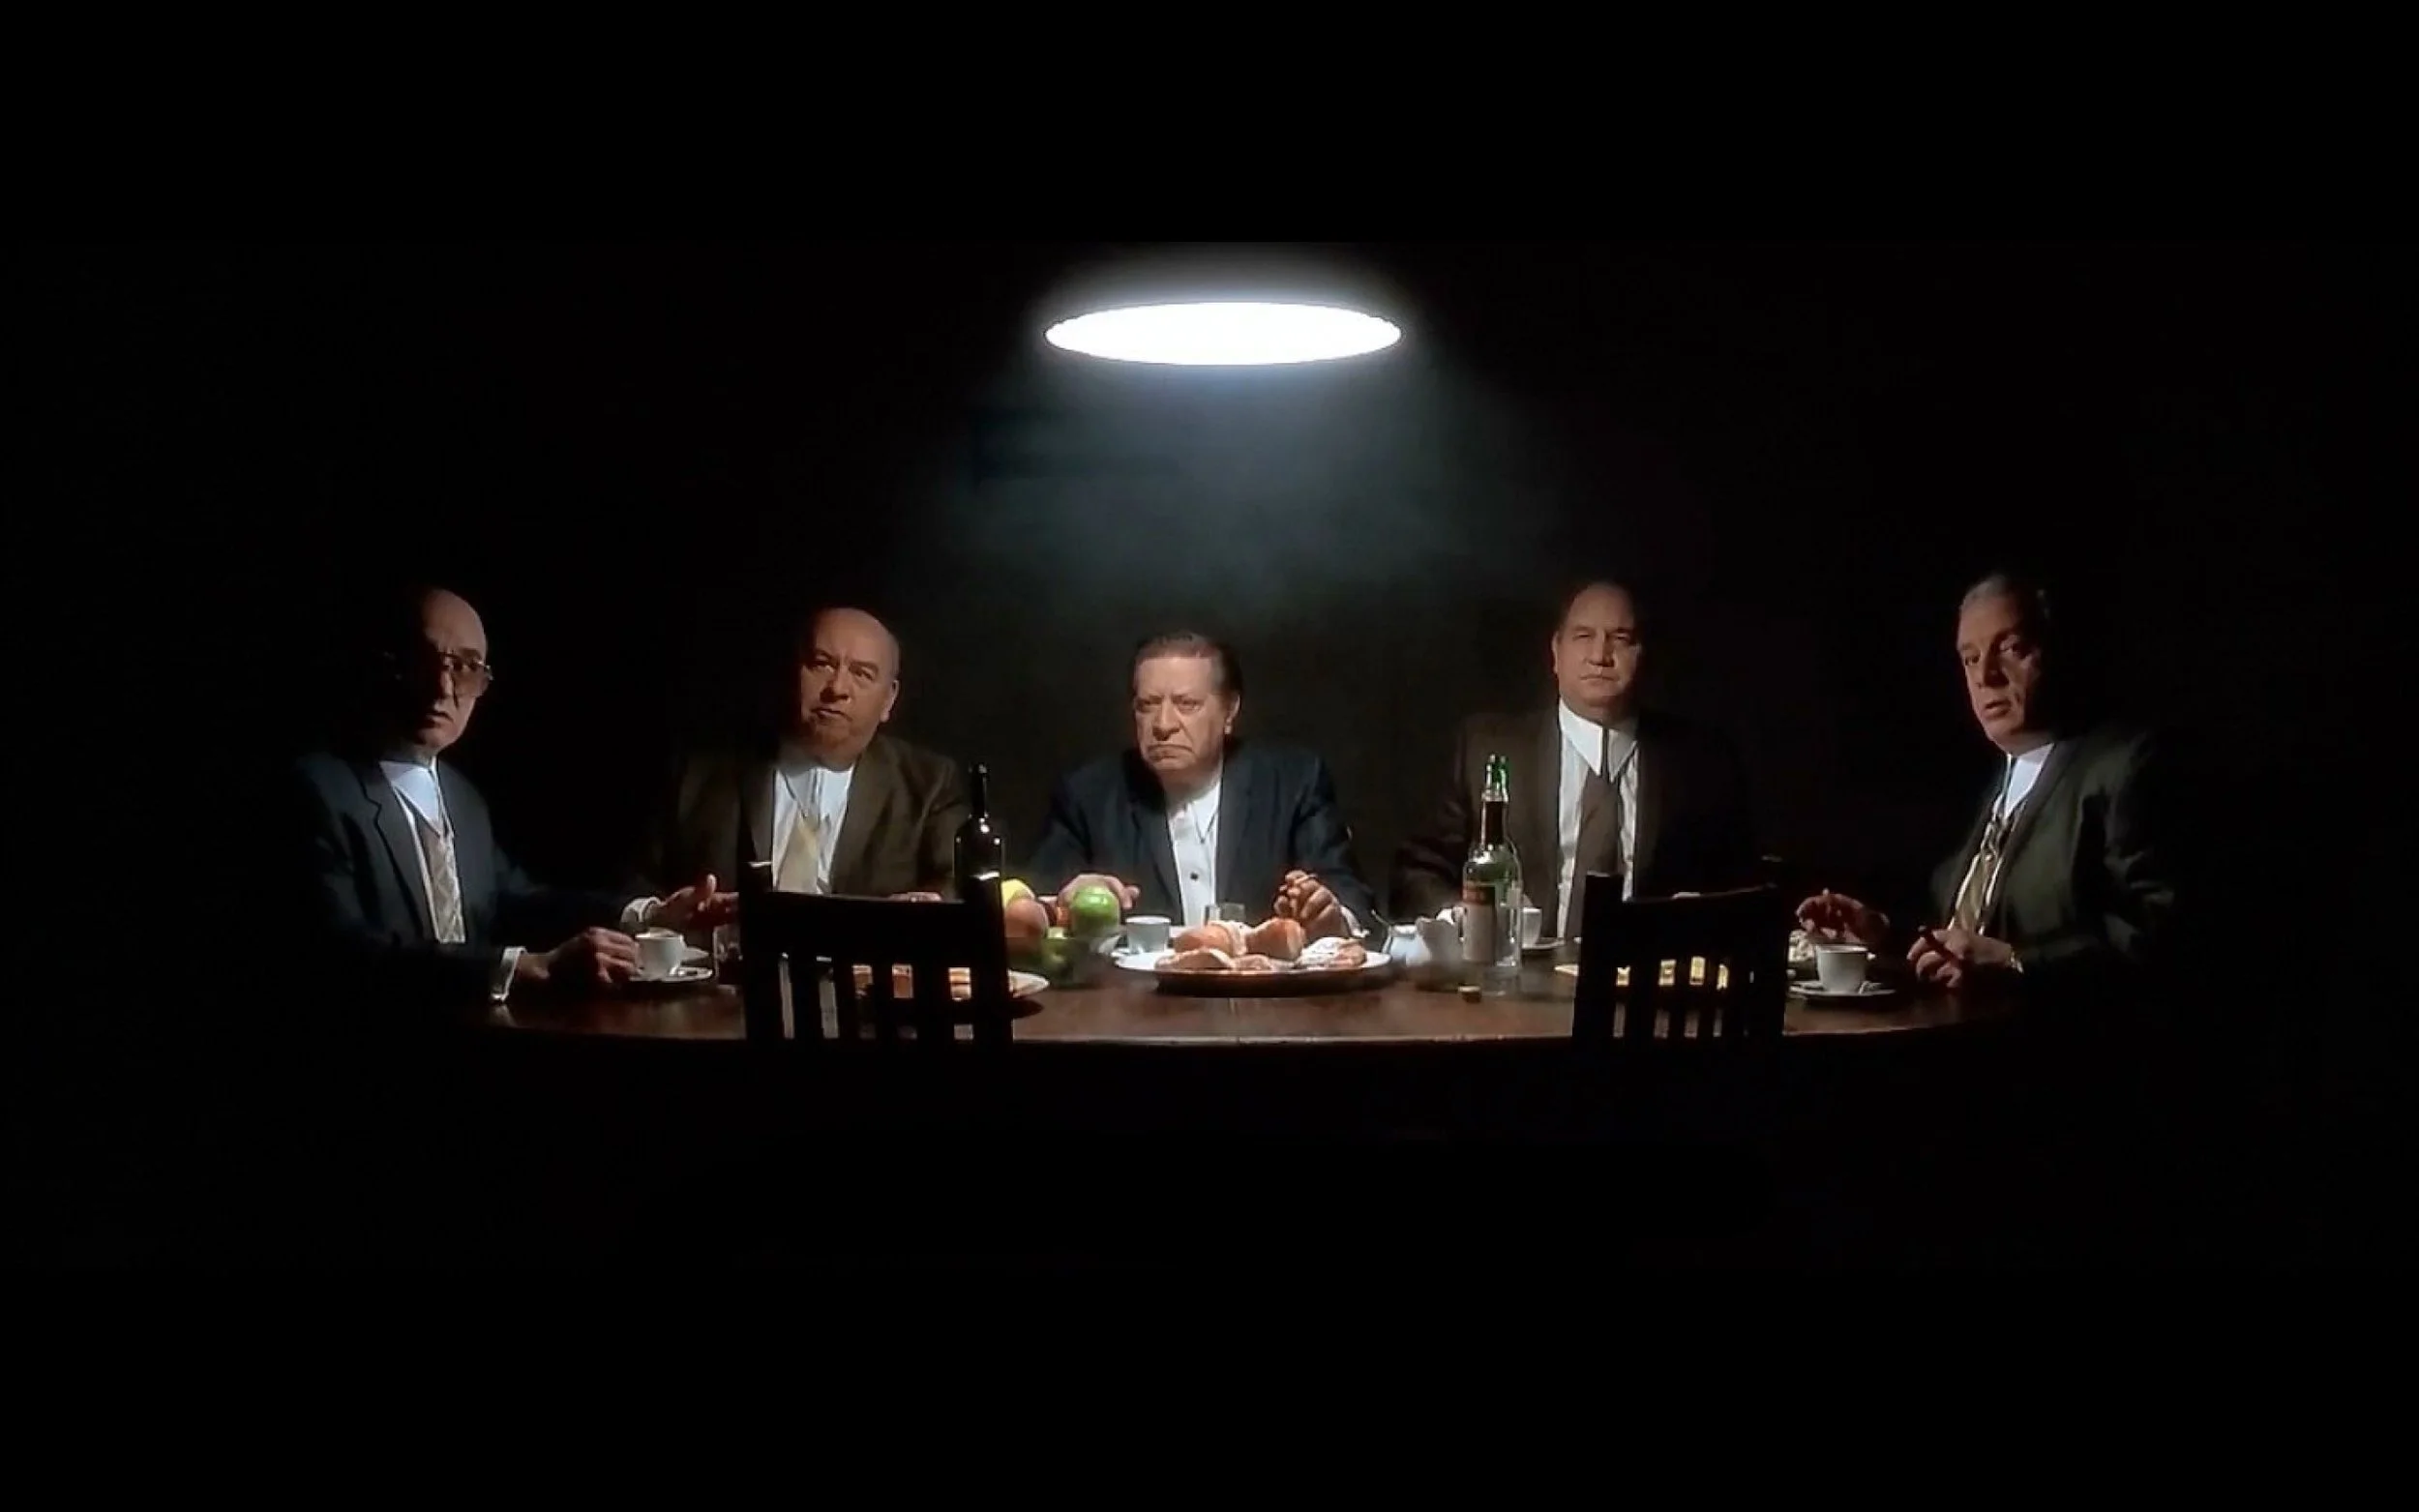
Bouncing light off a surface
5.Incorporating a practical—you can’t motivate your light with a practical if you don’t include a practical! Common practicals include lights/lamps, candles and windows. Place it where you find it effective: the foreground/background/etc. Then add a light to emphasise where that light “would“ hit. Here’s an example:
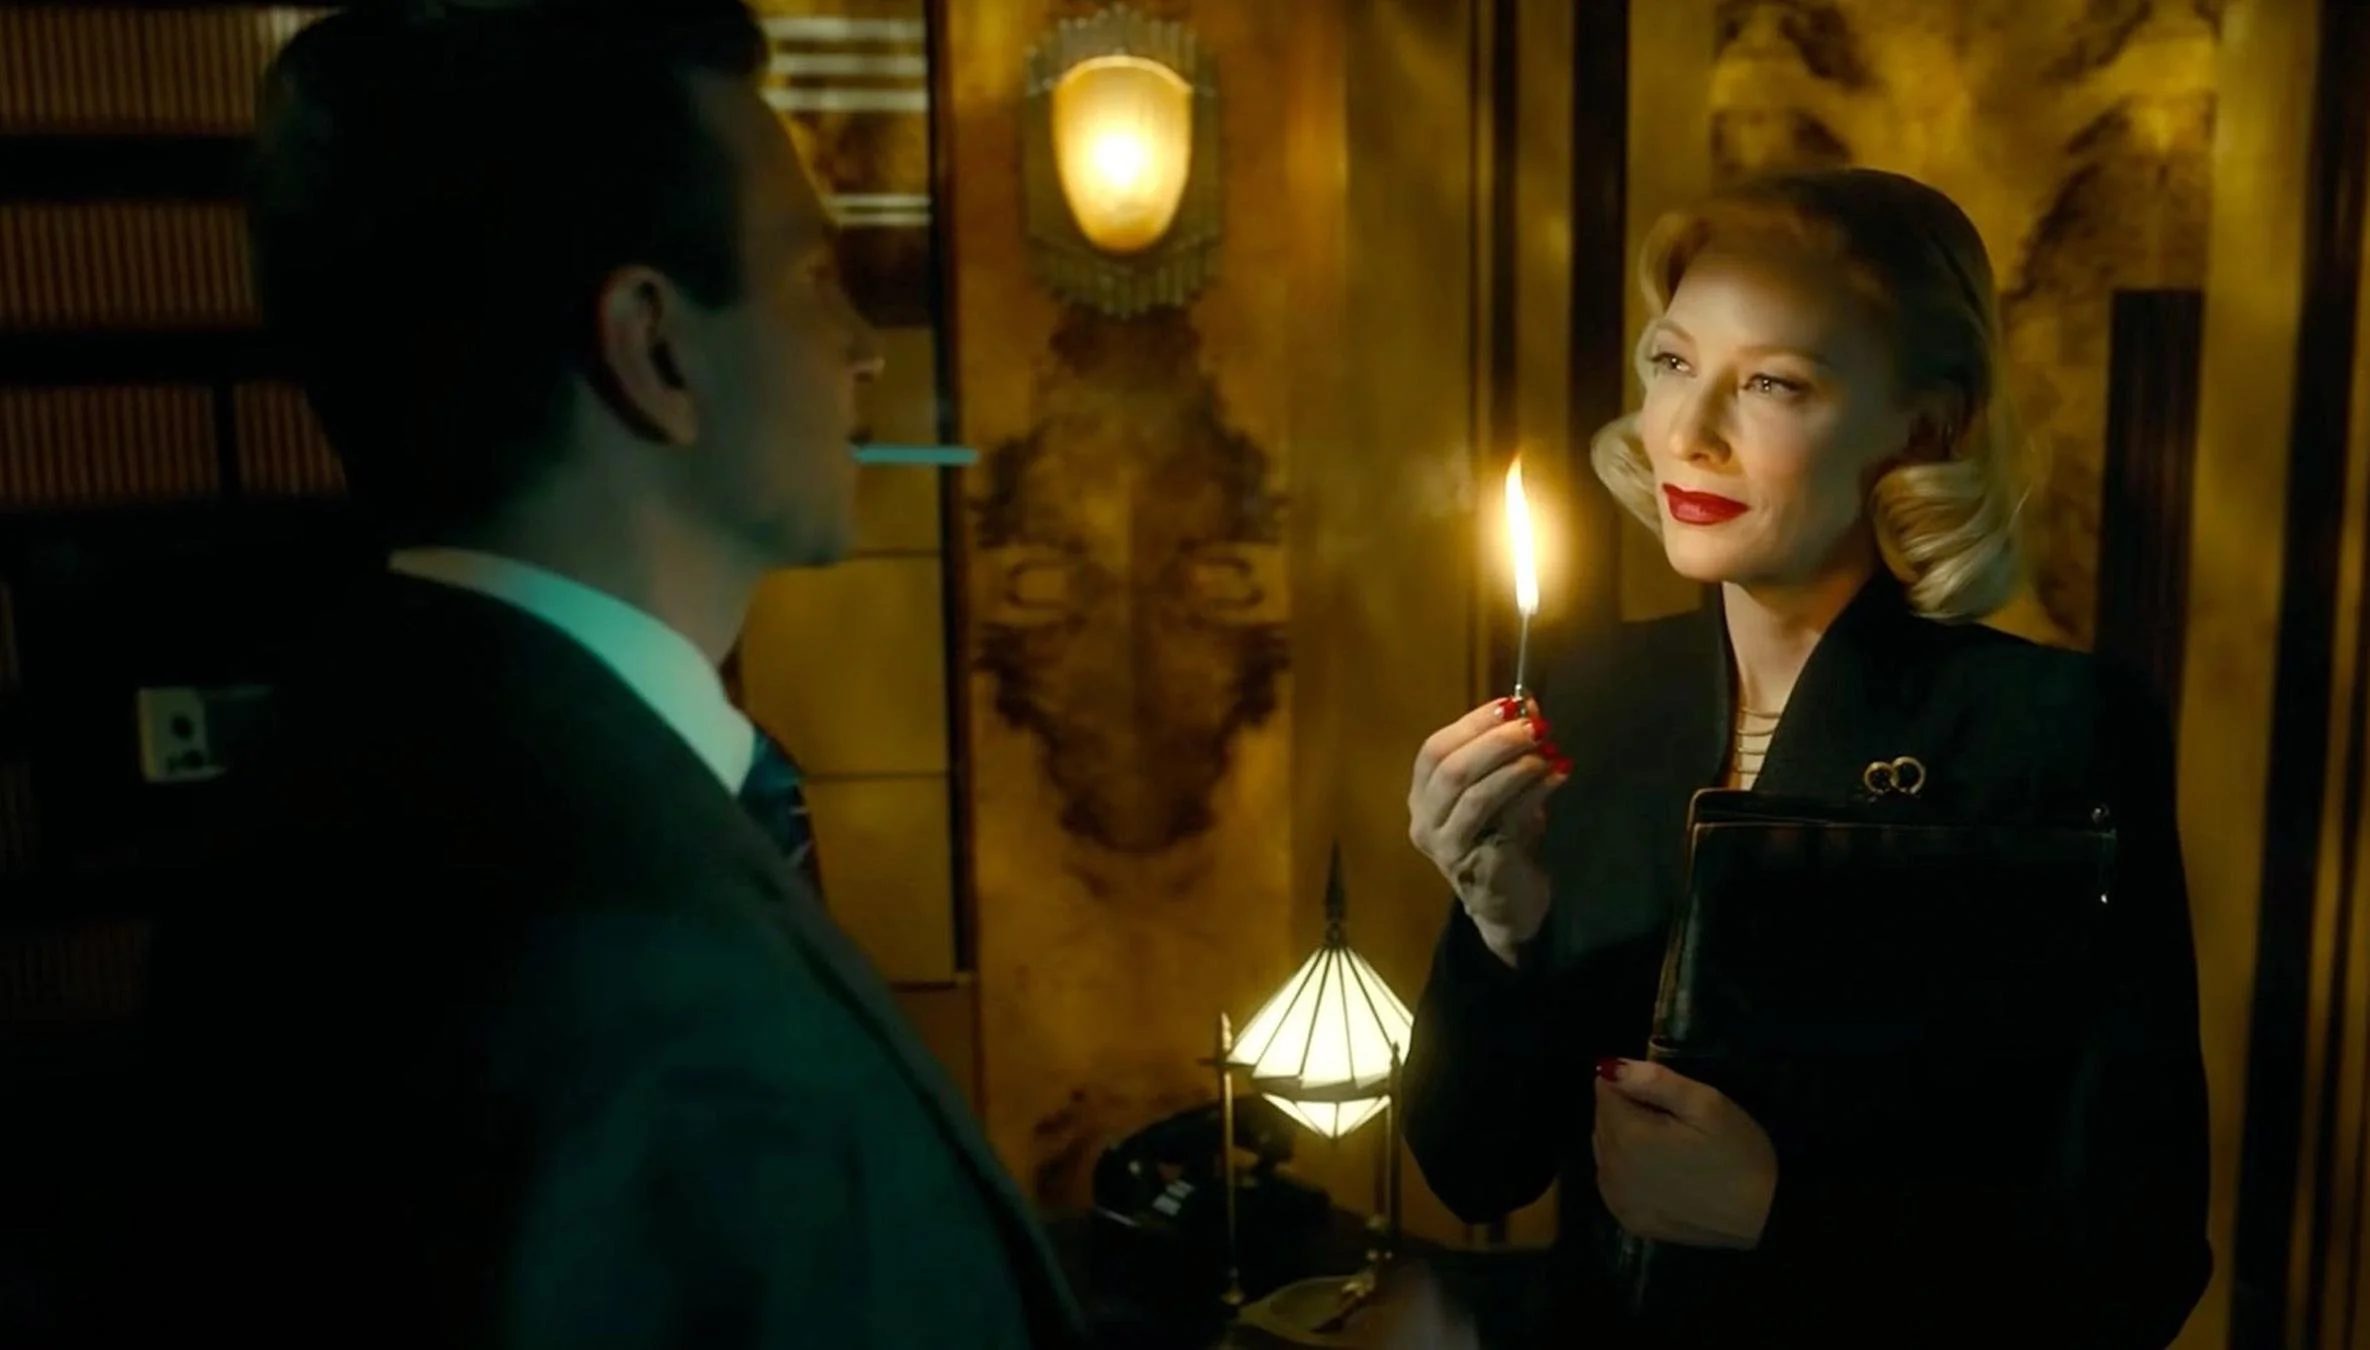
Practical light
There you have it—5 ways to spice up your next shot, all cinematic and interesting.
I find this stuff fascinating, and I hope you found something useful too.
Thanks for reading. If you’ve any comments, let me know down below. Good luck out there.
-D.C.